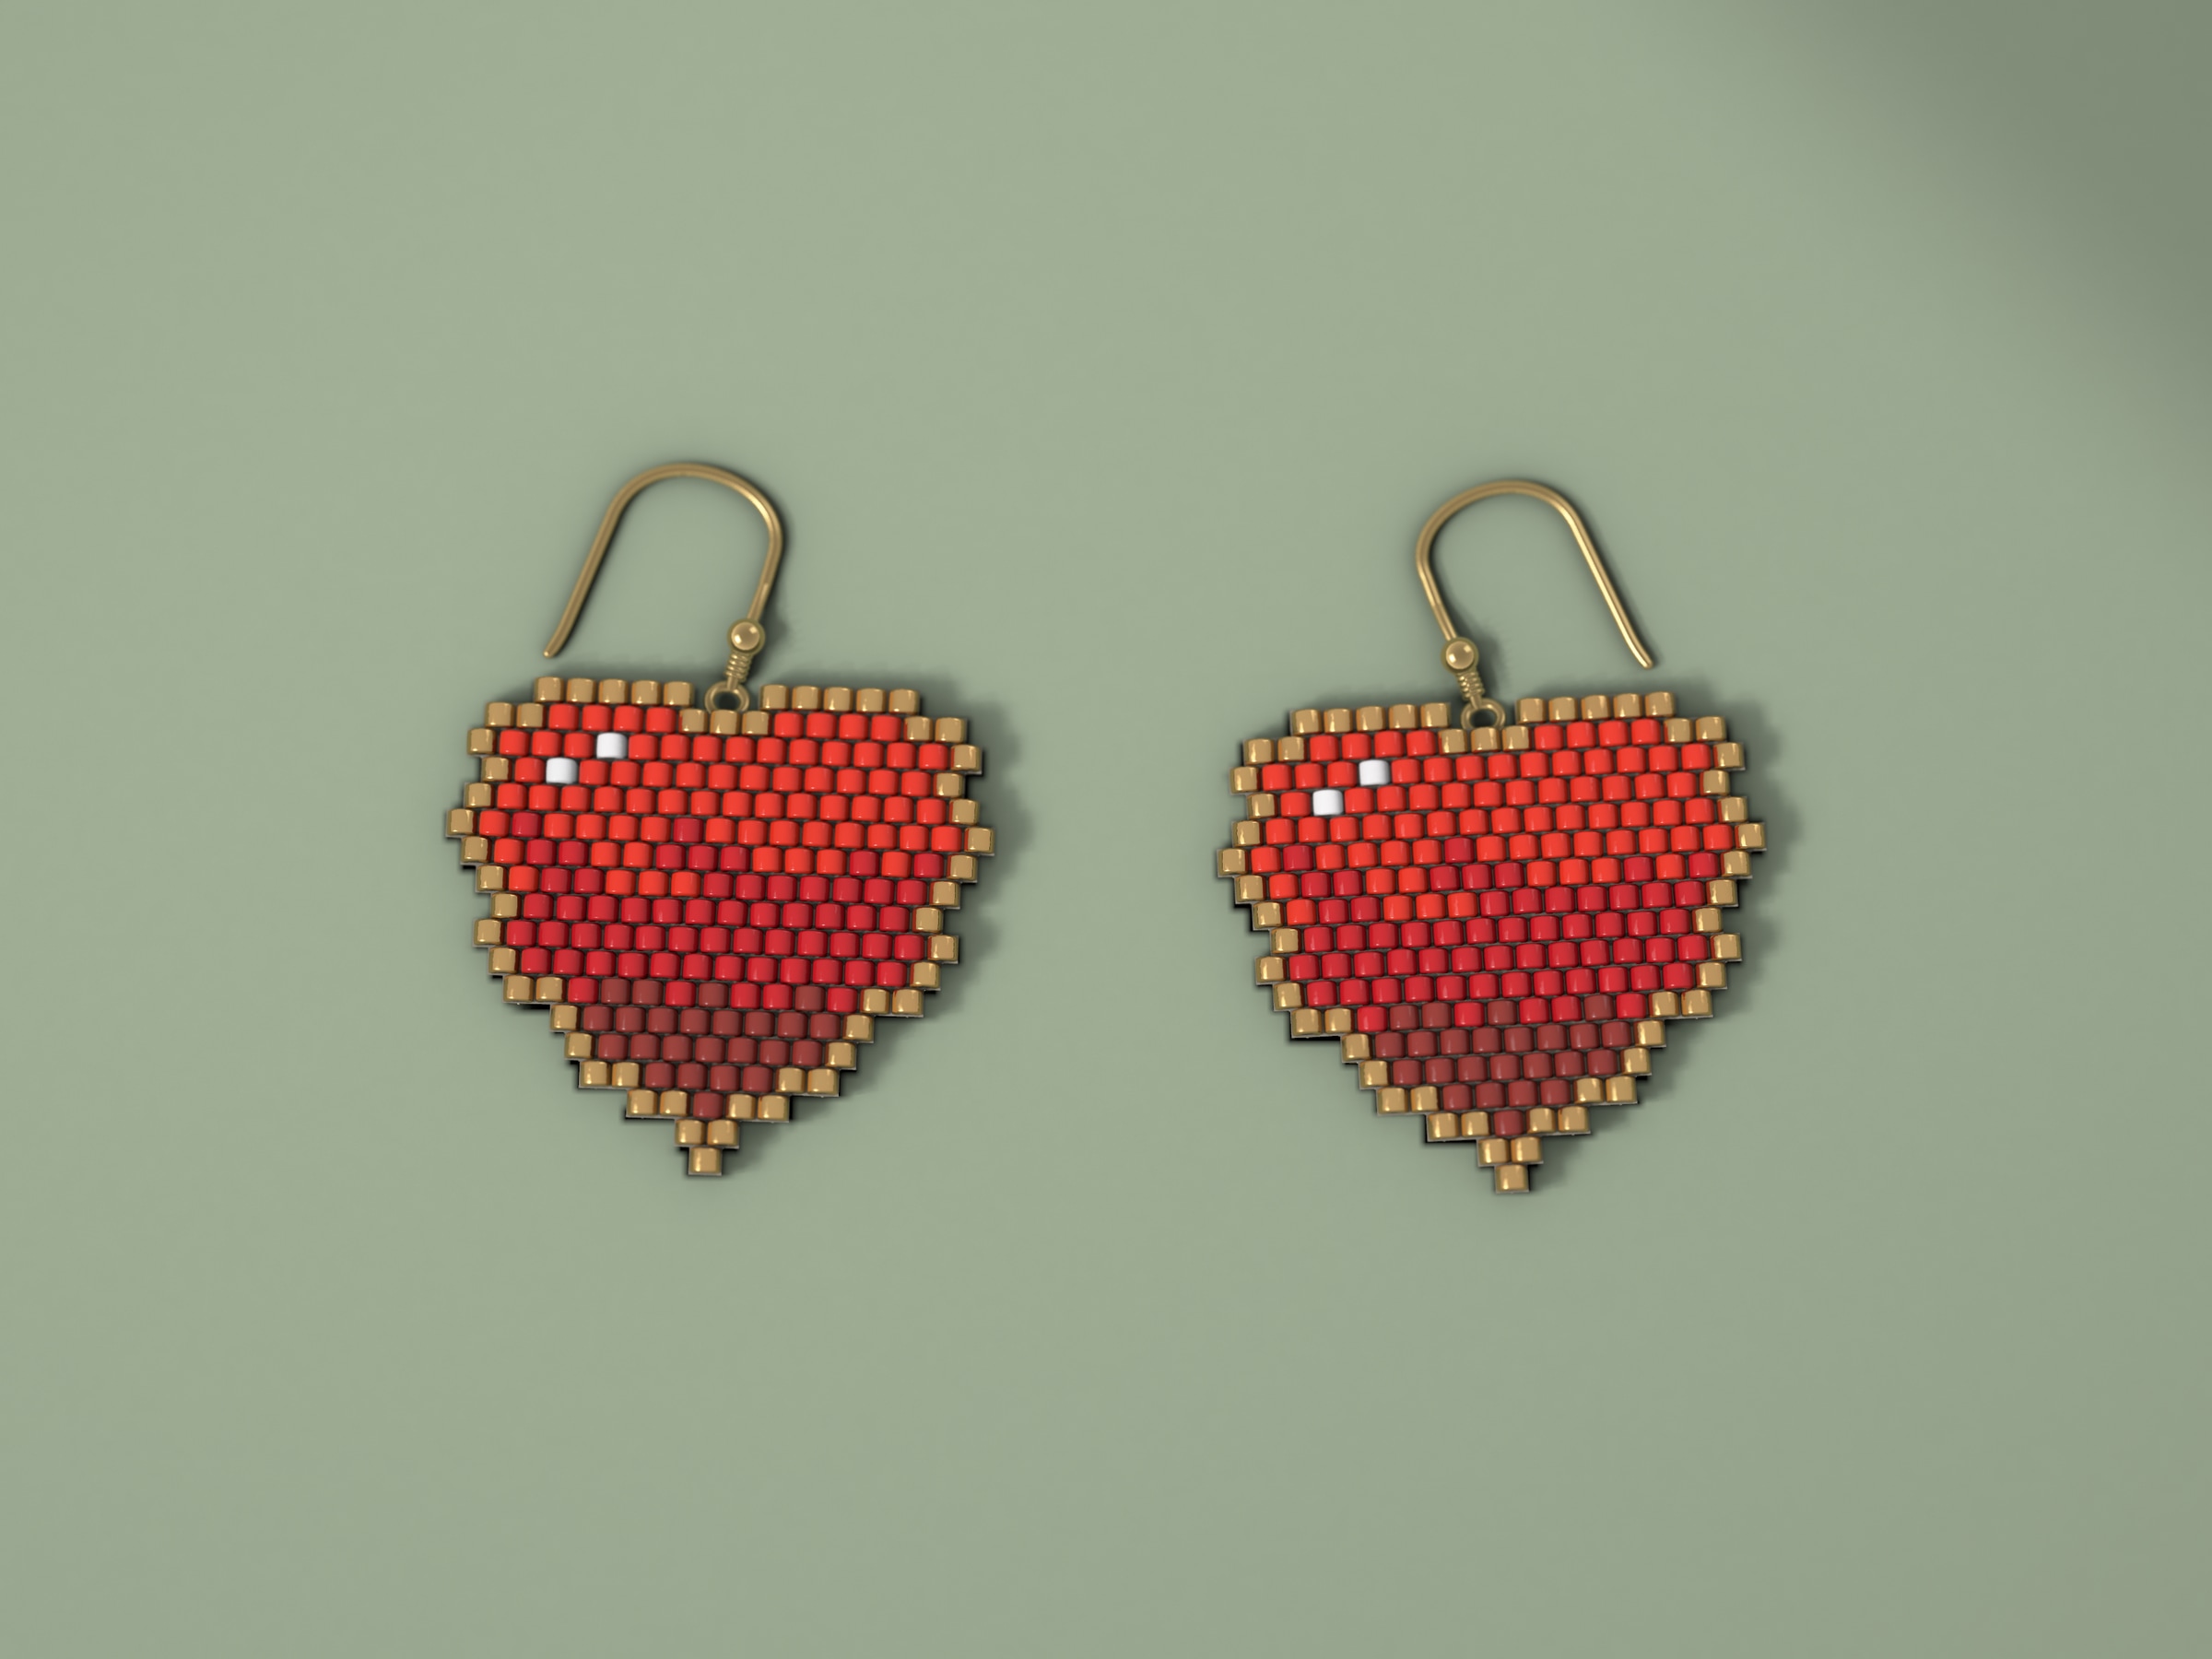
Bead chart

On the ear
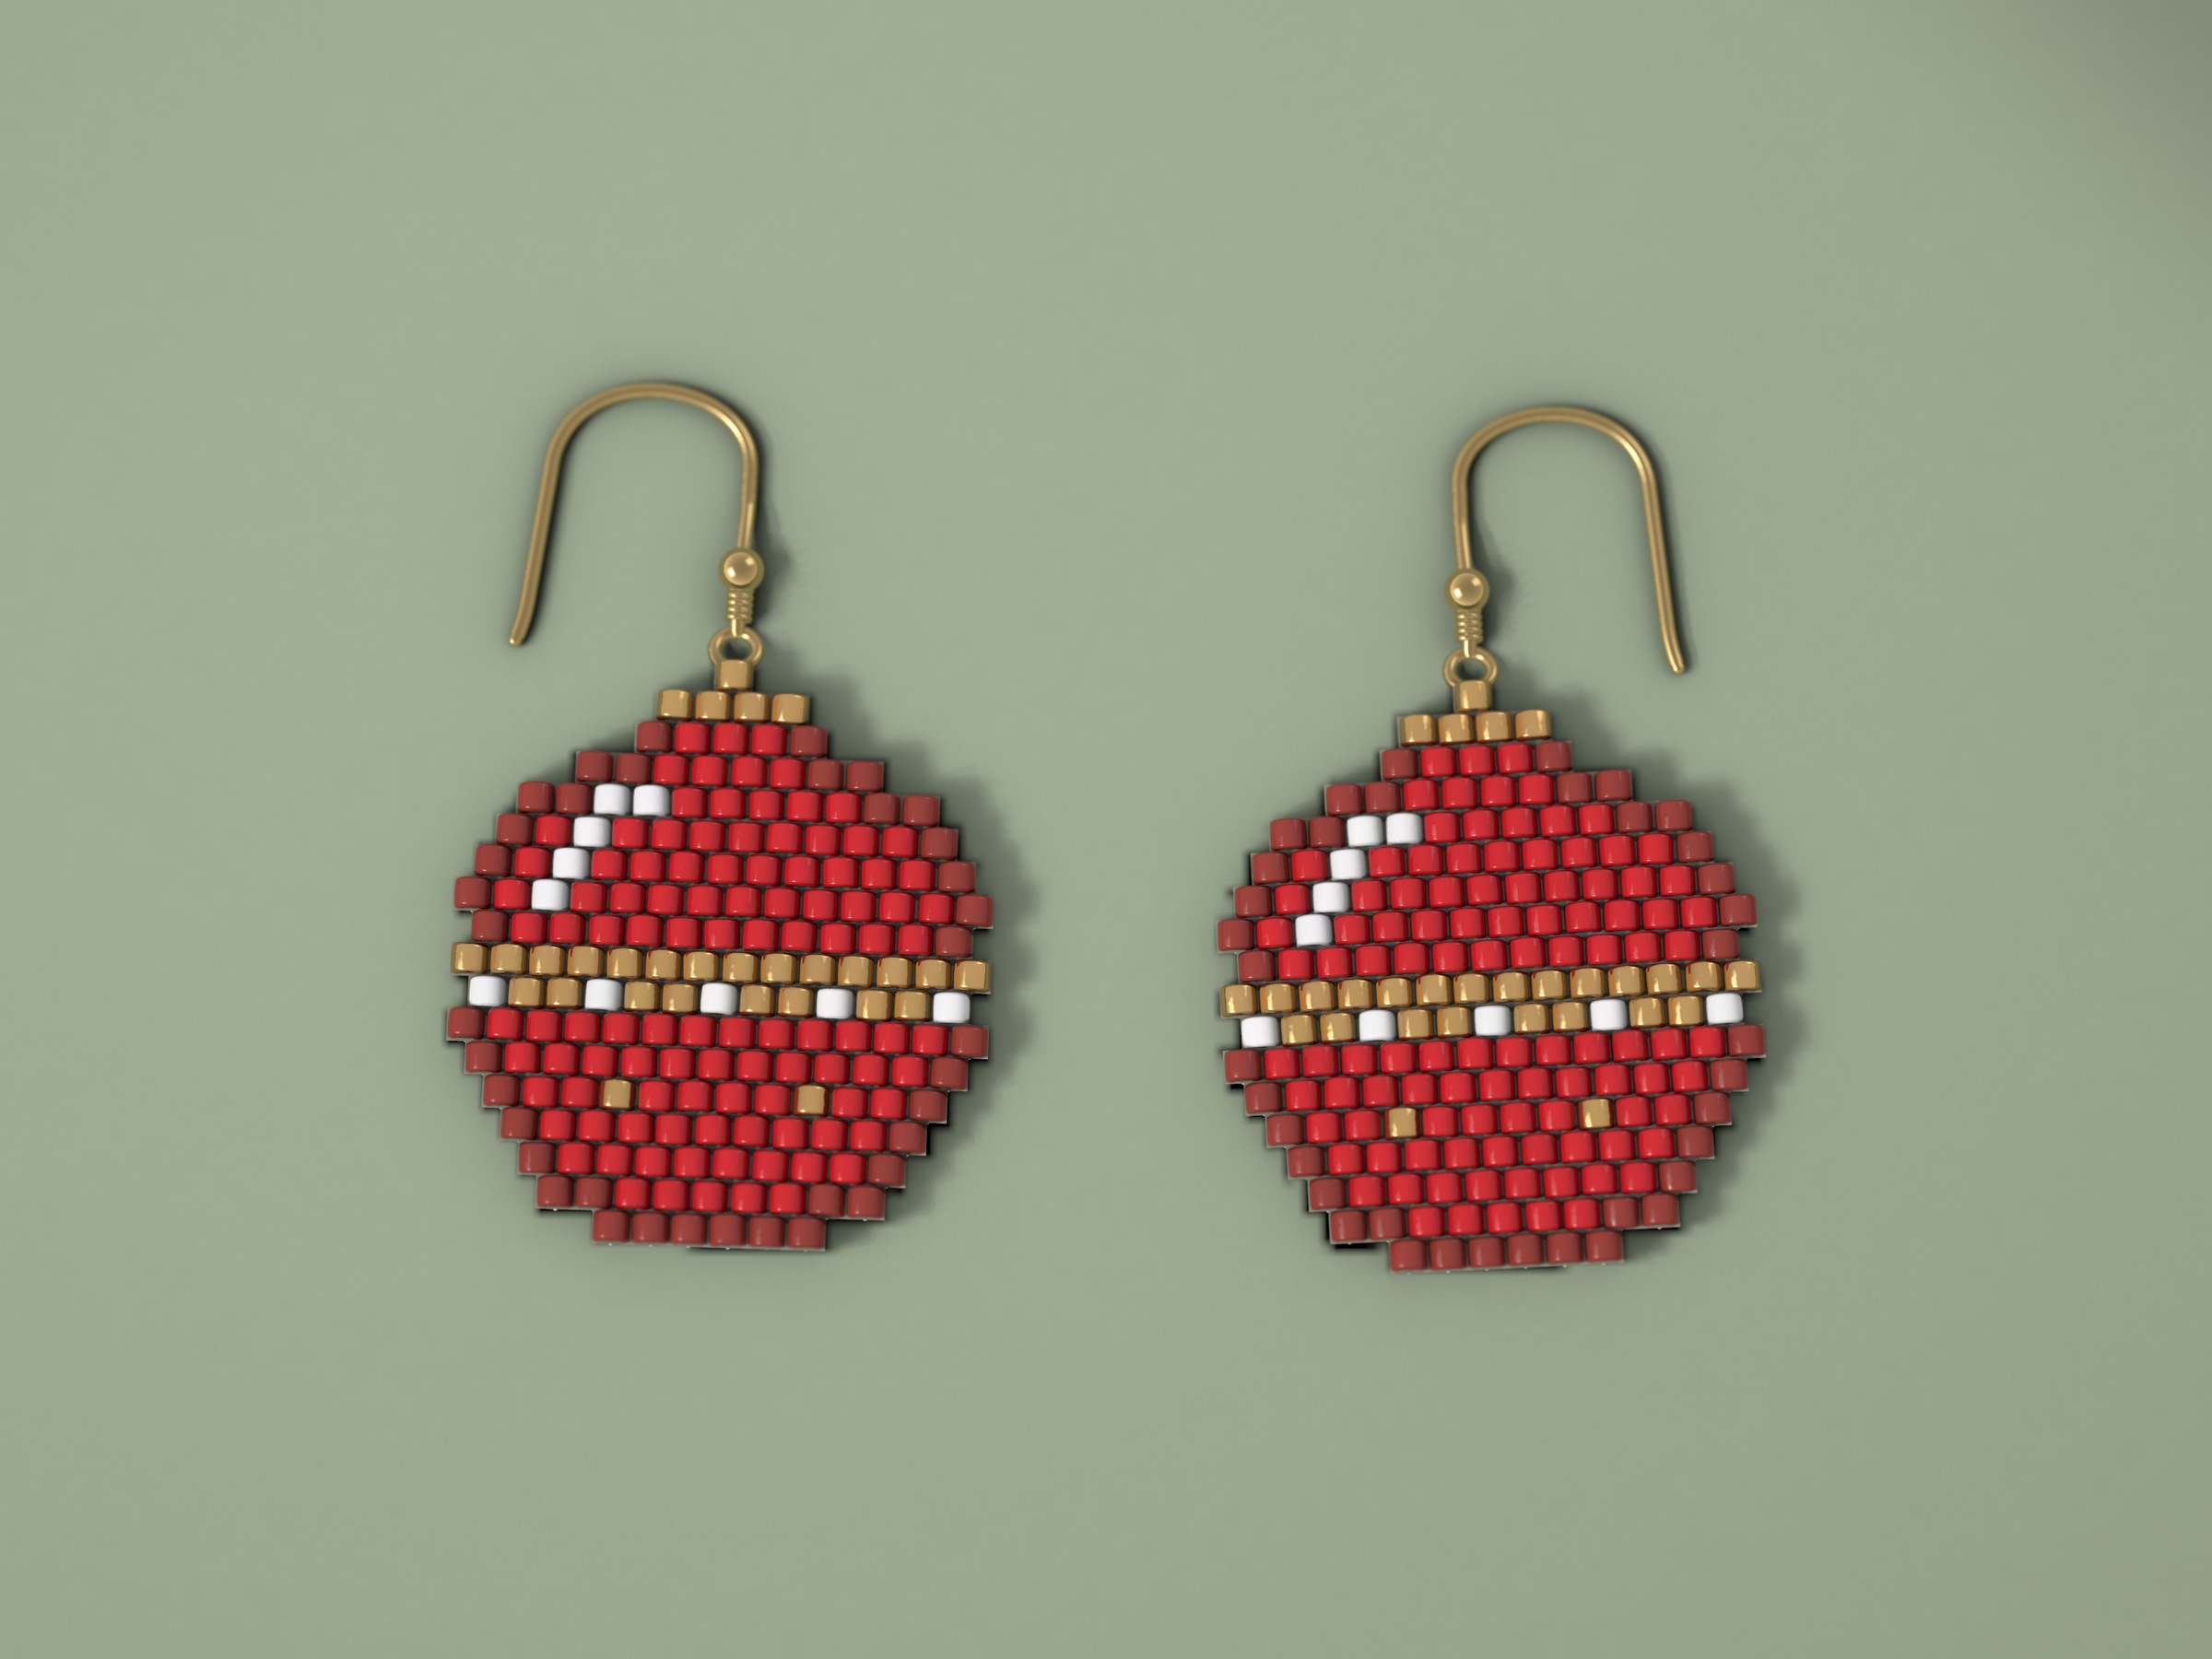
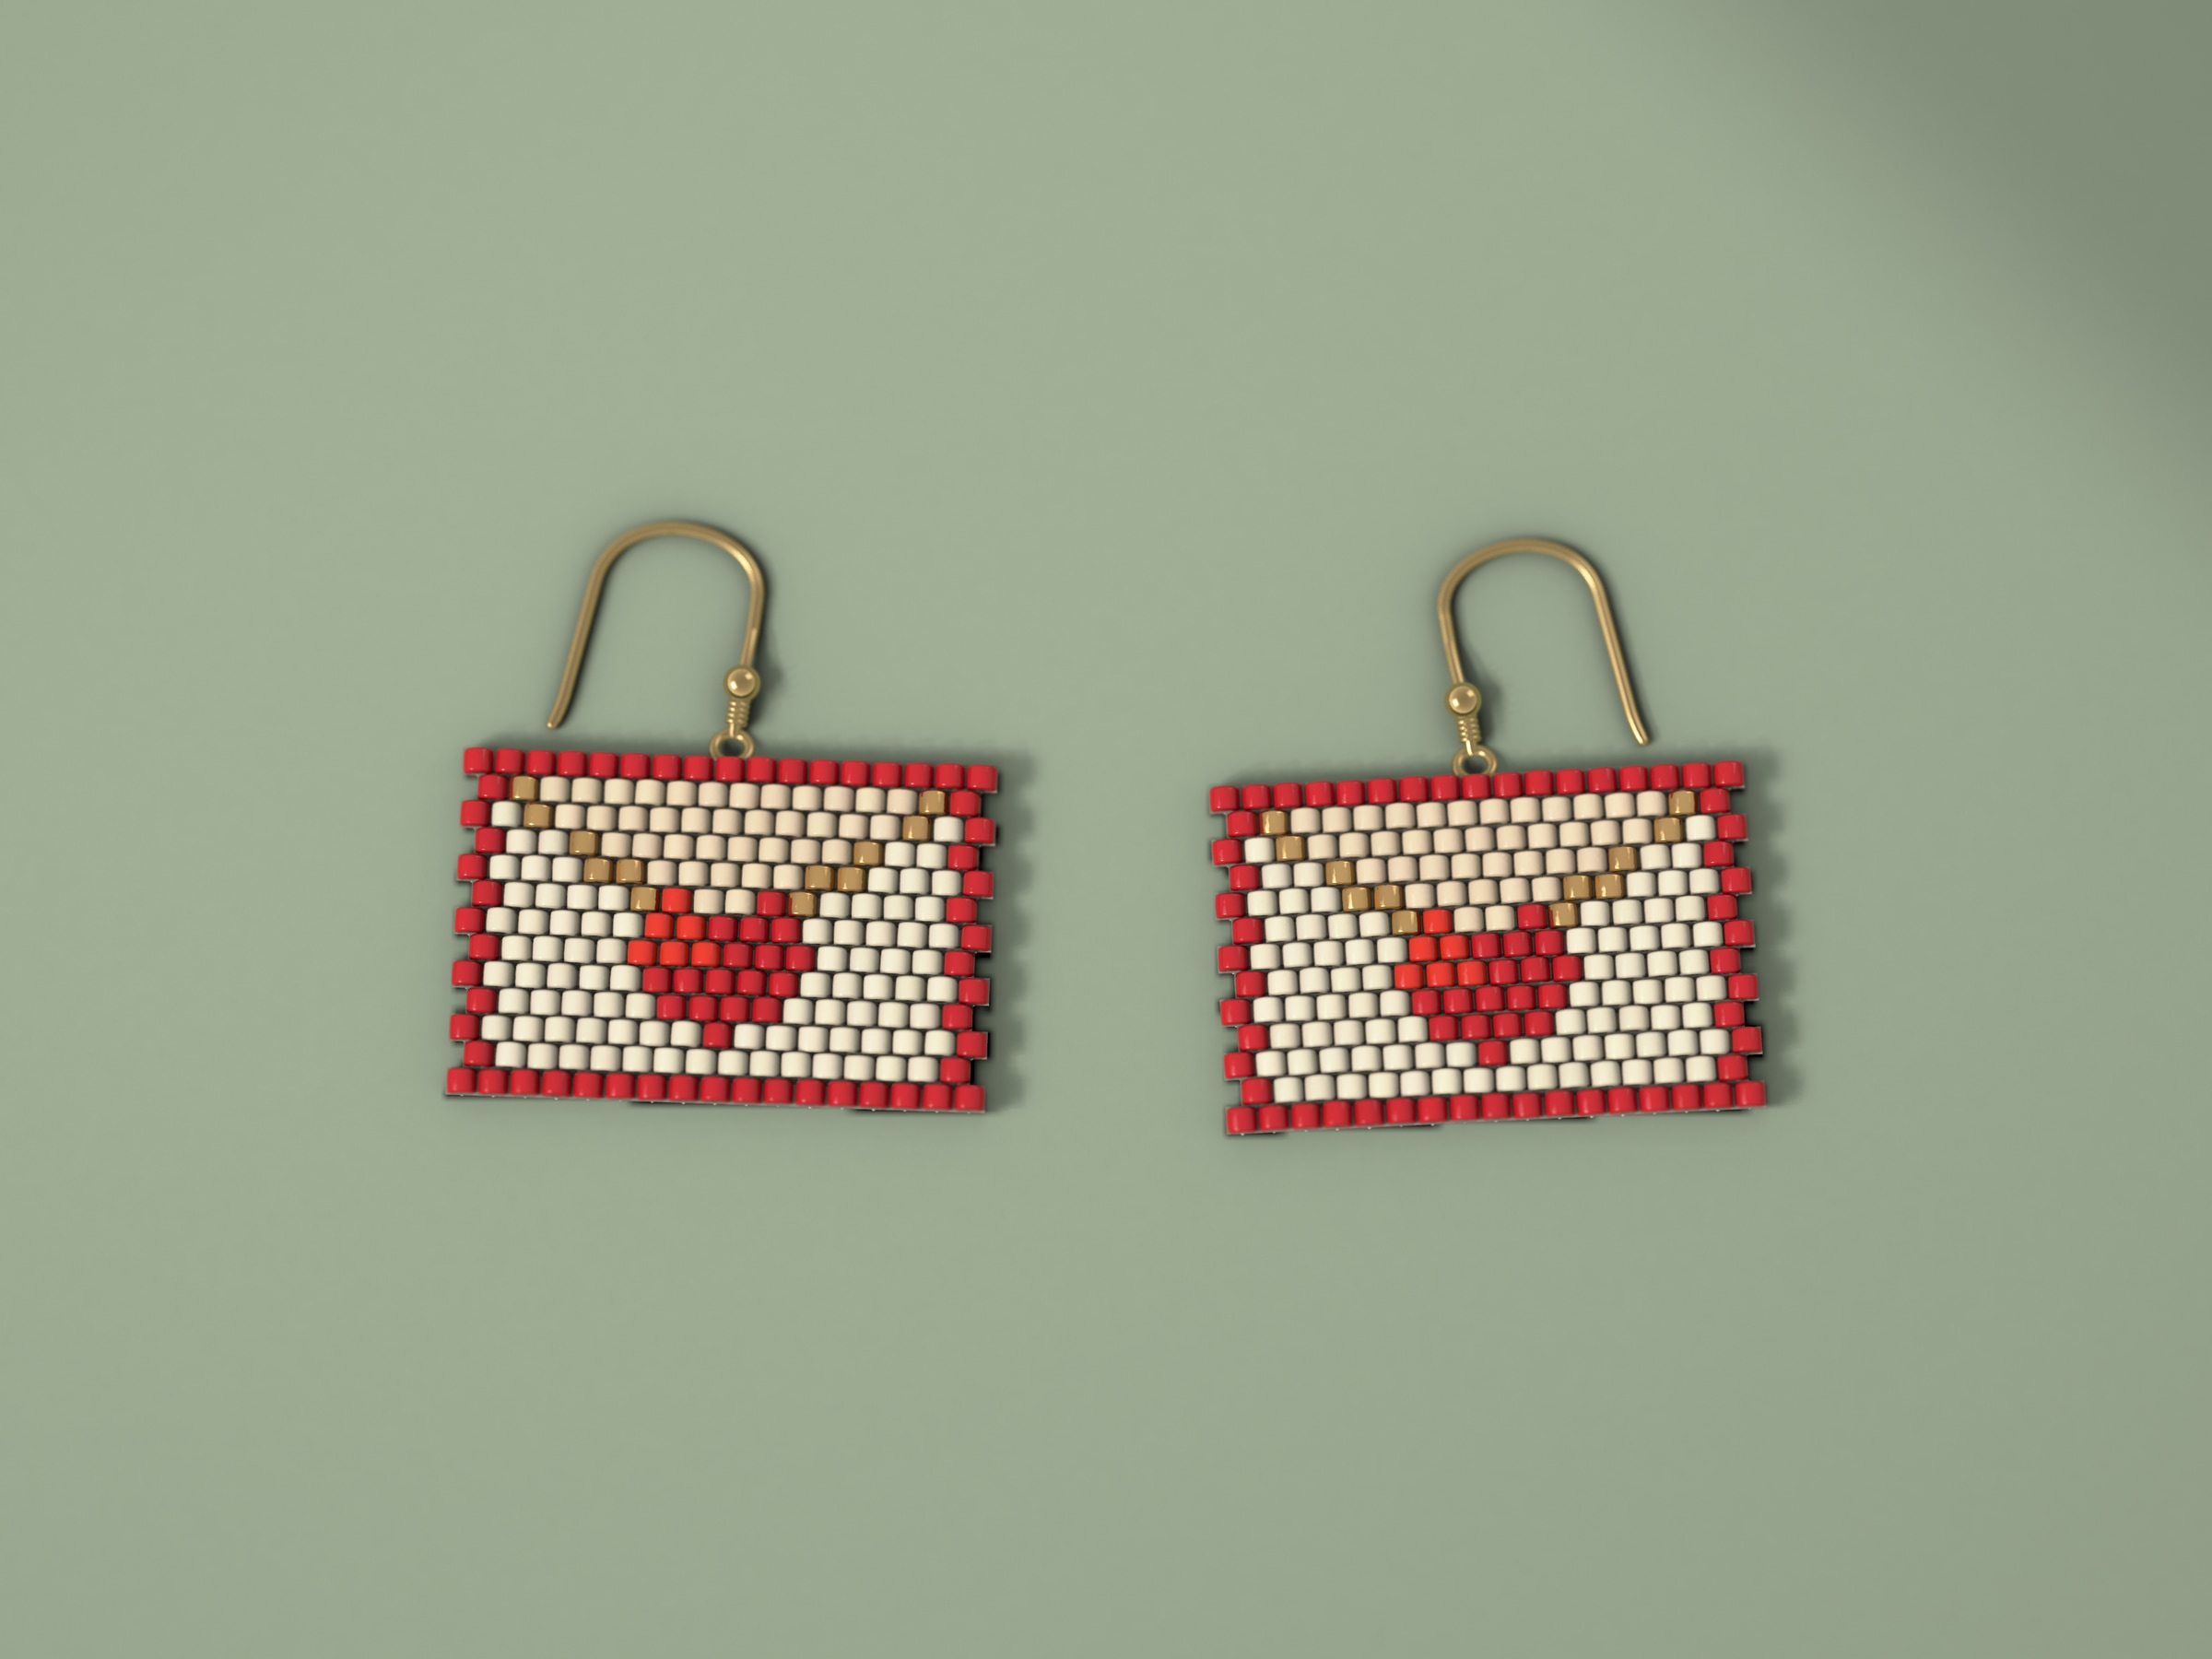
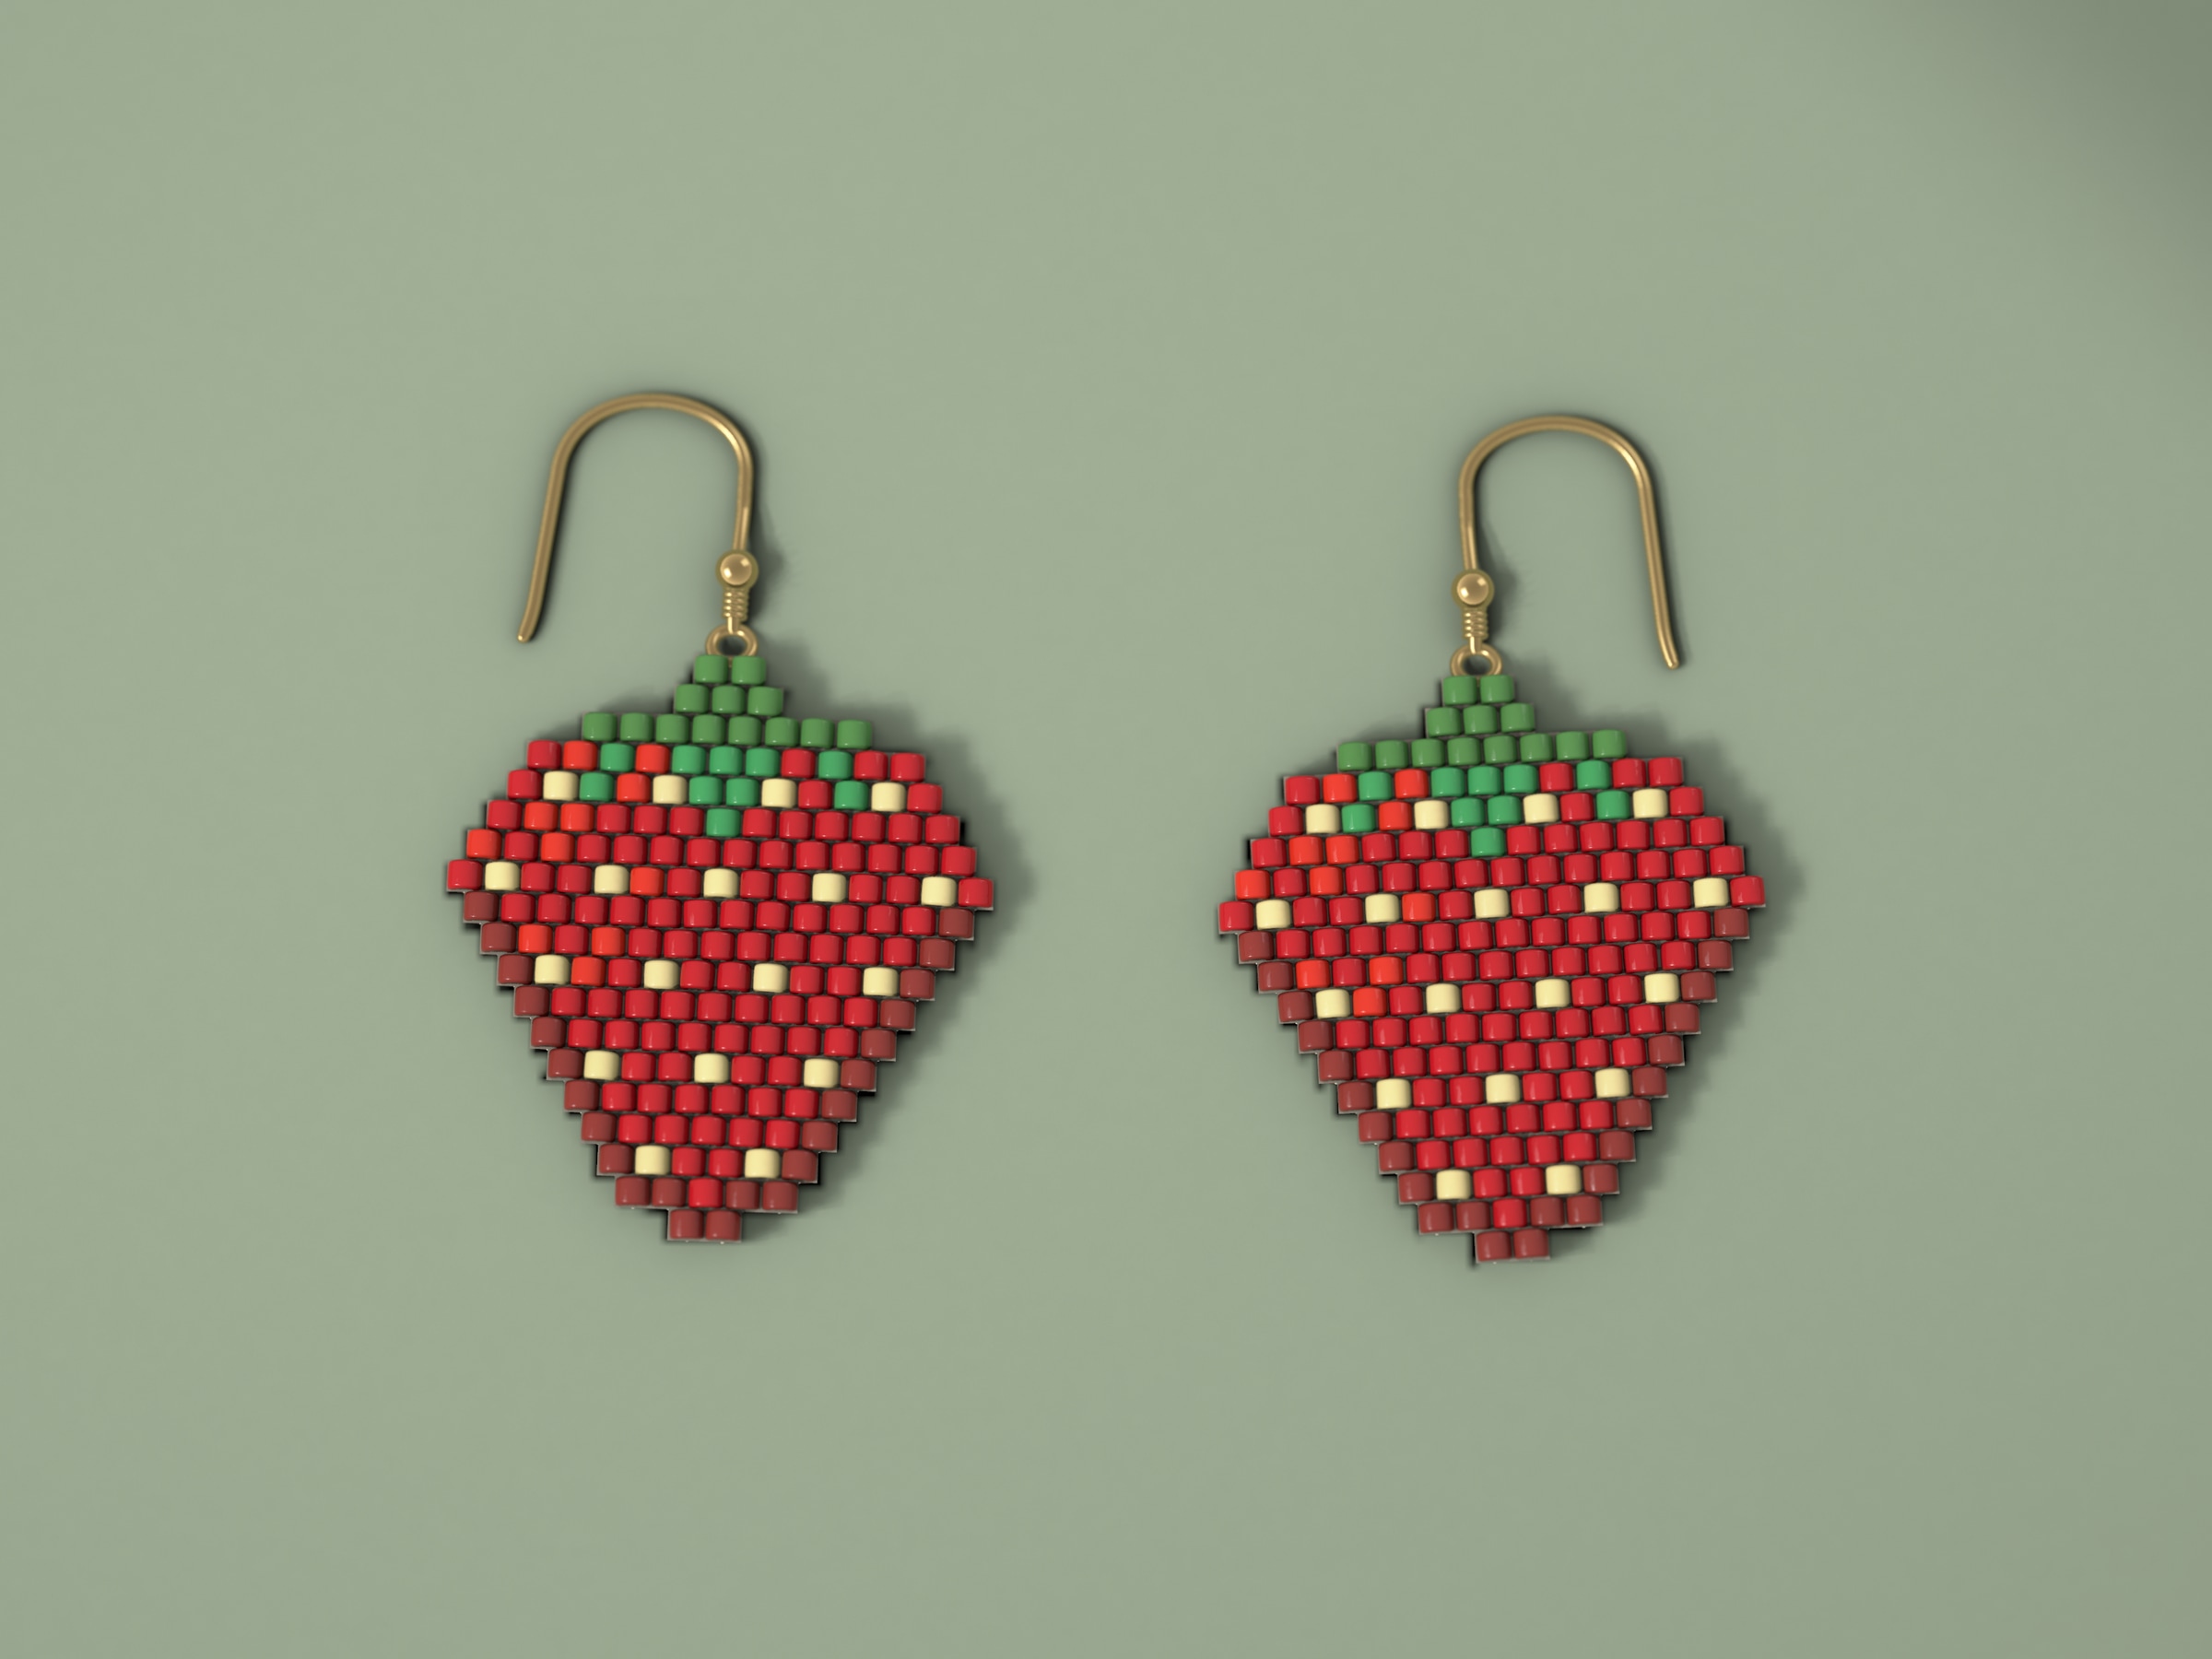
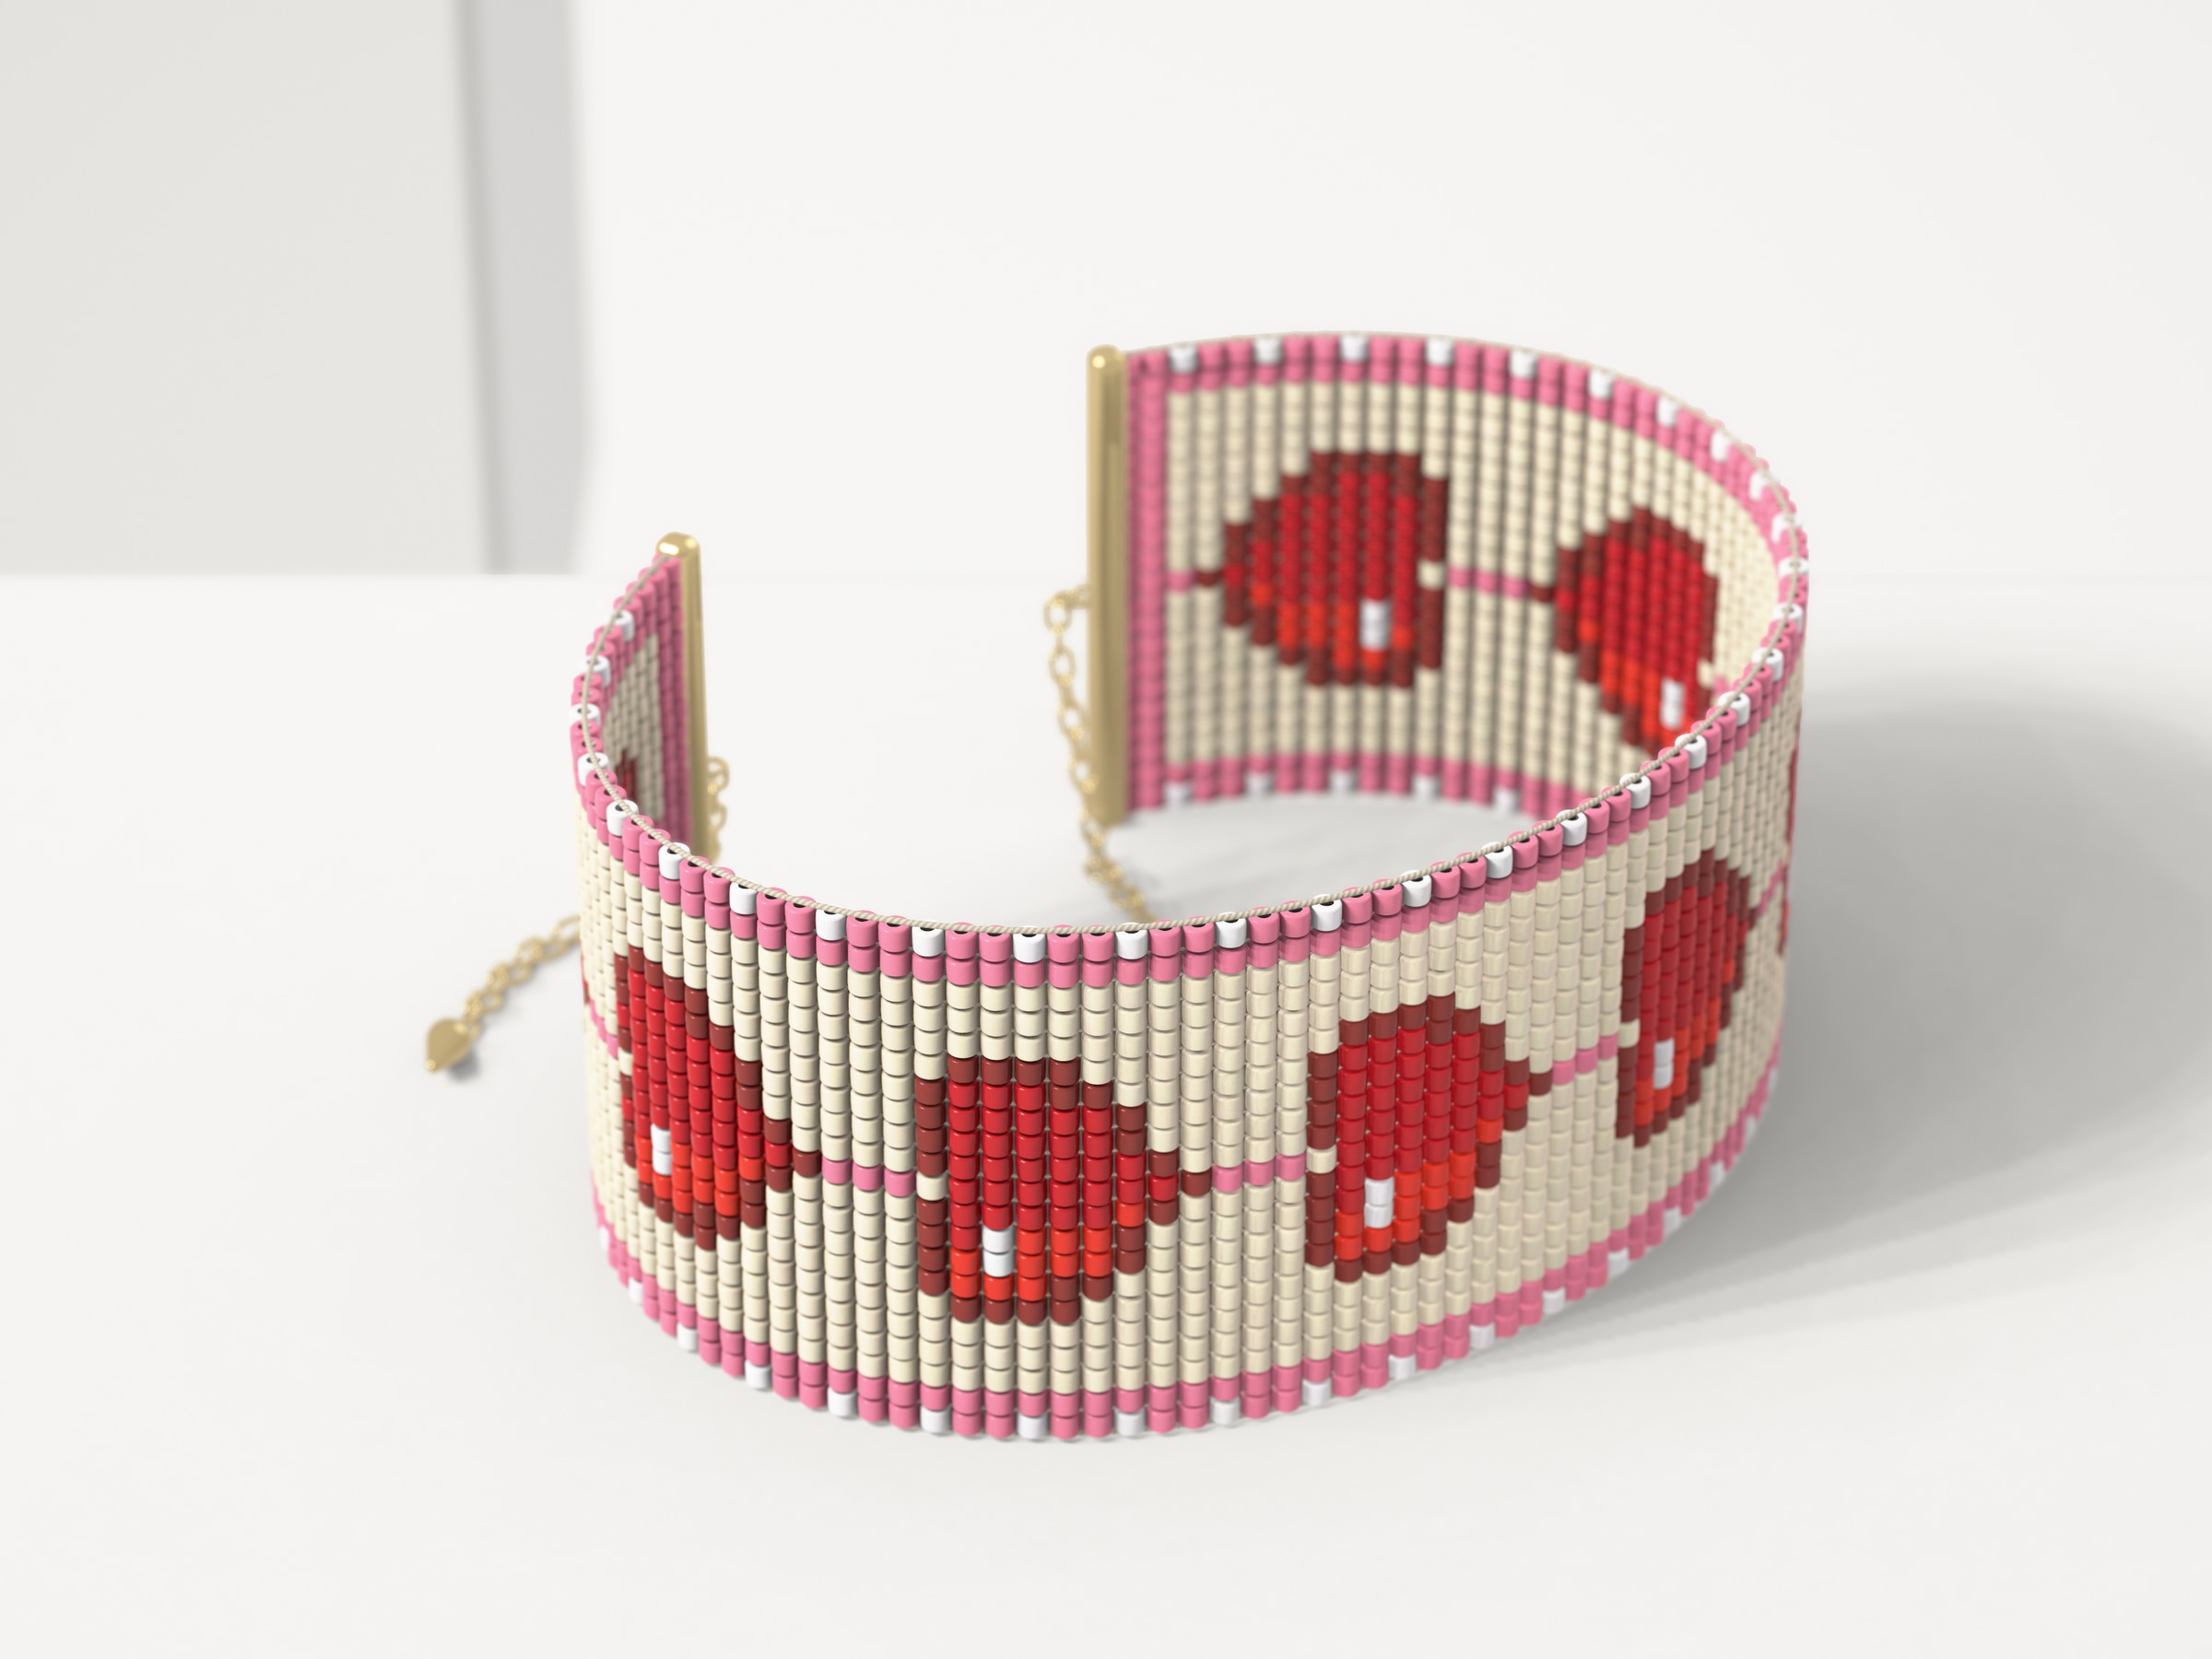
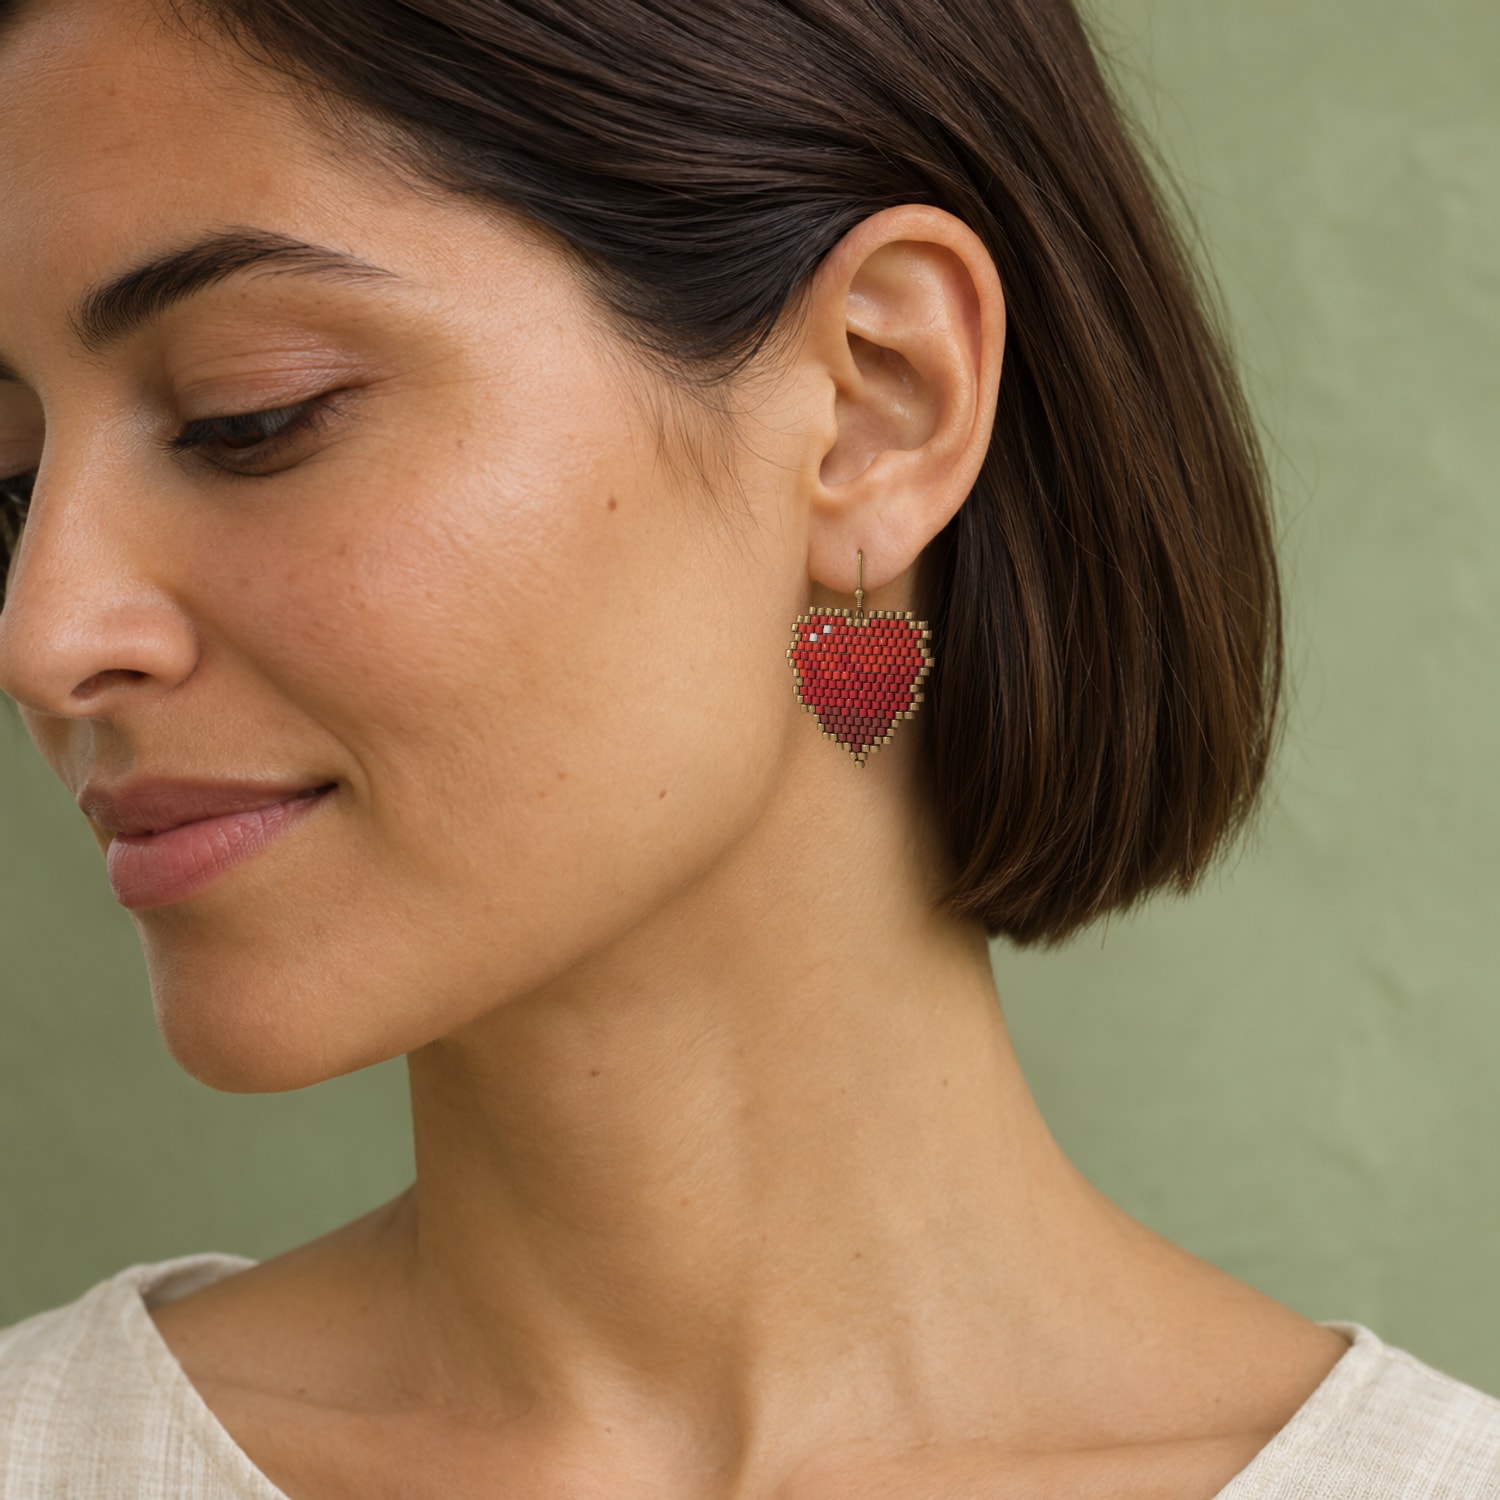
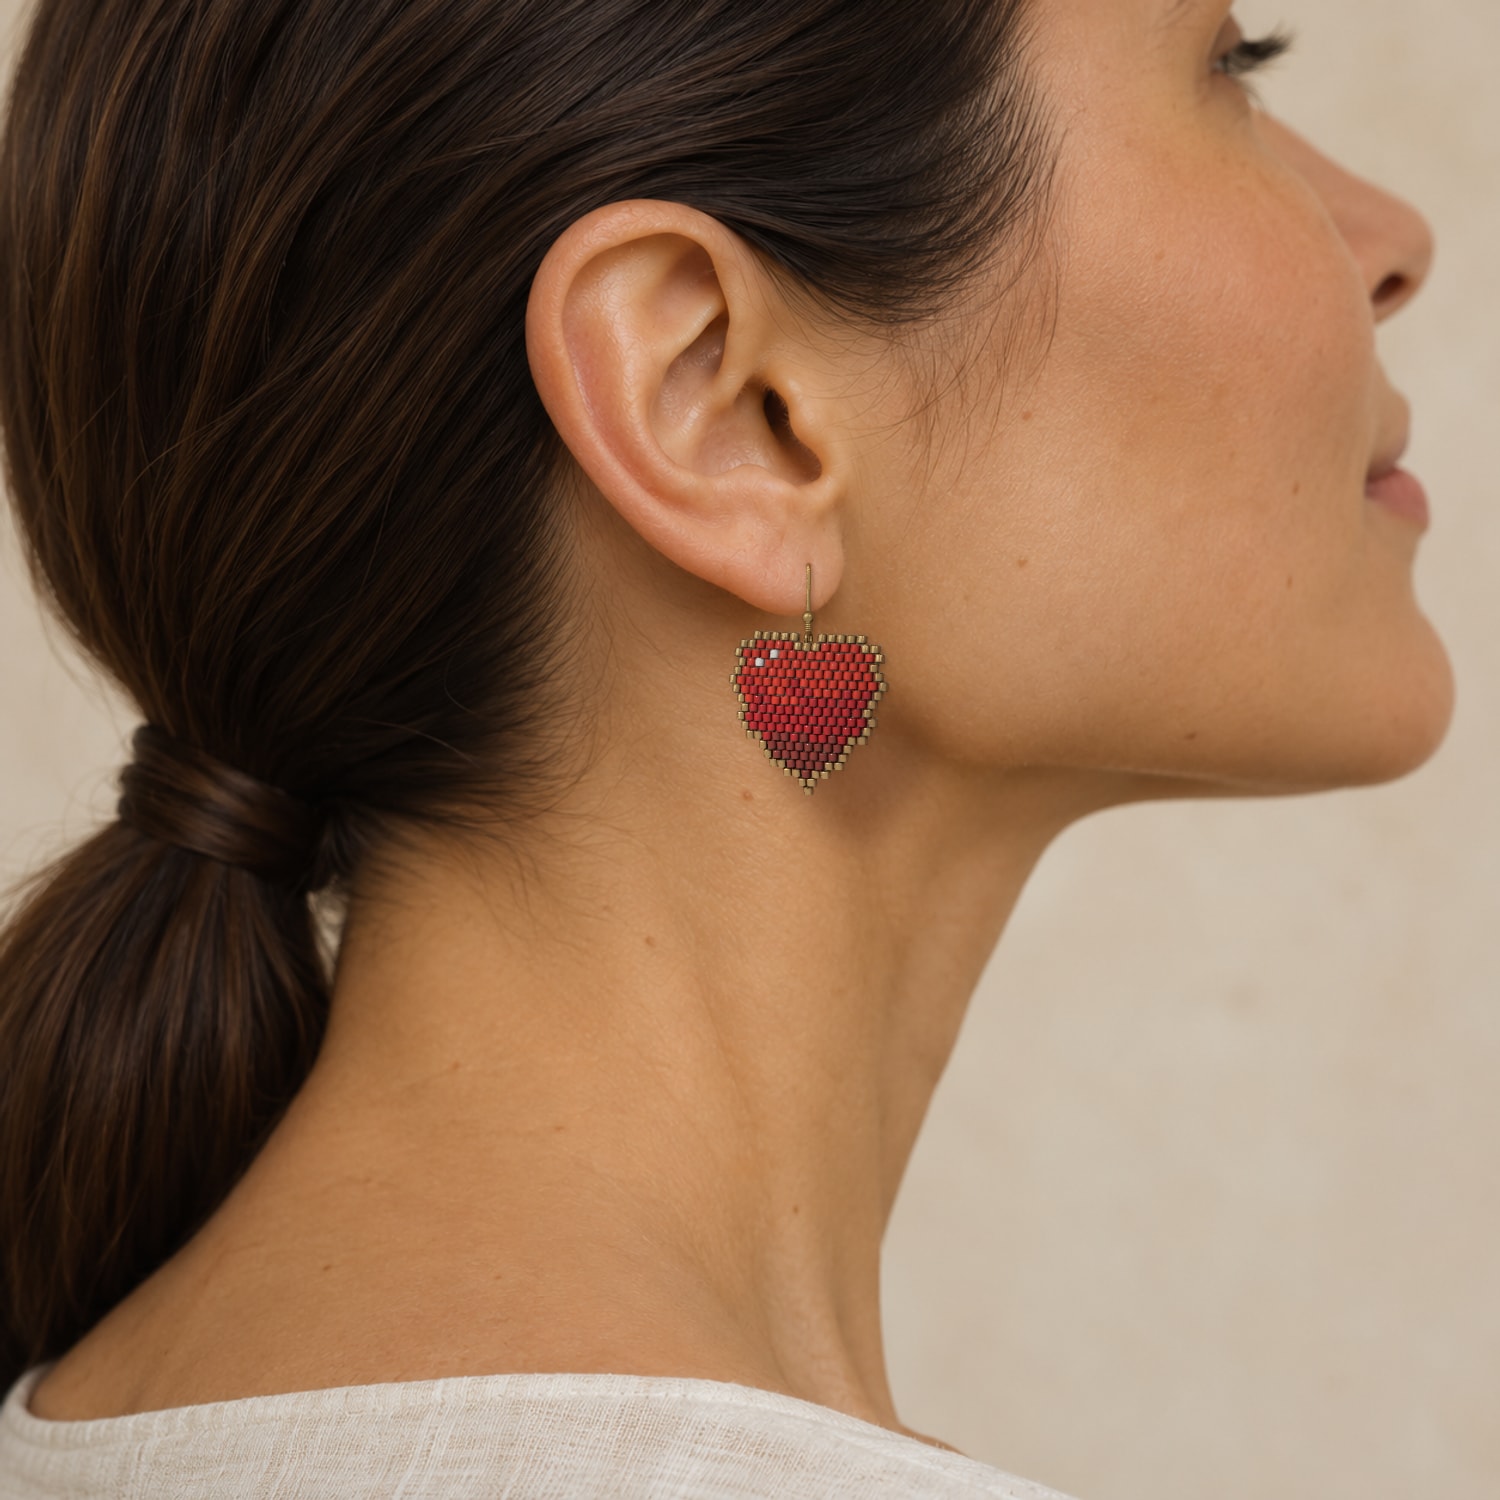
The earring rendered bead by bead from this chart and hung at its real size from the piercing of a model’s ear: from the side, and from behind with her chin raised. The model is the same for every pattern, so it shows the look, not how it will sit on your own ear. The ear wire is illustrative and is not counted as beads.
What you need
Counts include every bead in the chart. Add 10–15% for culls and spills. Weights assume about 200 Delica 11/0 beads per gram.
Counts are for one earring. Double them for a matching pair; fittings are not included.
| Key | Colour | Beads | +15% |
|---|---|---|---|
| A |  MIYUKI Opaque scarletDB-0727 | 71 | 0.4 g |
| B |  MIYUKI Opaque cherryDB-0723 | 60 | 0.3 g |
| C |  MIYUKI Duracoat opaque garnetDB-2119 | 24 | 0.1 g |
| D |  MIYUKI 24kt gold platedDB-0031 | 54 | 0.3 g |
| E |  MIYUKI Opaque whiteDB-0200 | 2 | 0.0 g |
Stitch it, step by step
The thread path for this chart, bead by bead: the ladder, every row in the order it is worked, where each bead hangs and how to get from one part to the next. It is worked out from the chart itself.
Row by row
Read each row left to right. A dash means leave that position empty. The editor’s Make mode walks you through these one at a time.
18 rows
- 13–5D2–5D2–
- 21–2D4A3D4A2D1–
- 31–1D3A1E10A1D
- 41–1D1A1E11A1D1–
- 51–1D14A1D
- 61D1A1B4A1B8A1D
- 71–1D1A2B2A3B3A1B1A1B1D
- 81–1D1A2B3A7B1D1–
- 92–1D12B1D1–
- 101–1D13B1D1–
- 112–1D12B1D1–
- 122–2D1B2C1B1C2B1C1B2D2–
- 134–1D8C1D3–
- 144–1D7C1D4–
- 155–2D4C2D4–
- 166–2D1C2D6–
- 178–2D7–
- 188–1D8–